Here you will find our 8 best tips to take better drone photos.
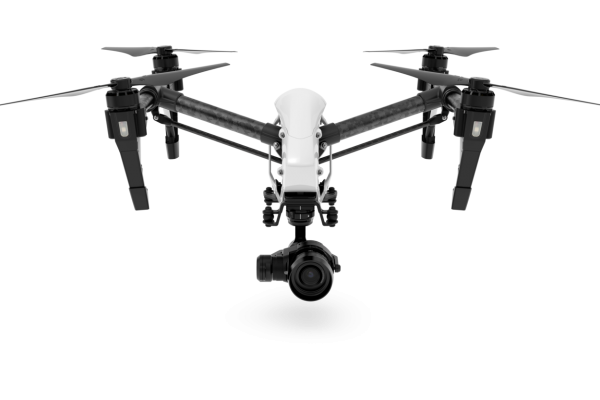
We take most of our drone photos with DJI's Phantom 4 Pro, Inspire 1 and Inspire 2 and most recently also with DJI's MAVIC Probut you can transfer our tips for virtually all drones.
See our tips for better drone photos here.
Although DJI's Phantom 3 and Phantom 4 models are great drones with relatively good cameras, so they don't come without their own problems. They can take photos from 12MB RAW, but due to their small sensors, they will quickly show noise if there is not much light, just as focusing can be a challenge. Camera shake can also be a challenge in high winds and especially if you're flying high, but it can be hard to avoid. So to minimize the problems and make the most of your drone photos, follow these 8 tips for better drone photos.
1) RAW RAW RAW
Any professional photographer will always recommend to shoot in RAW instead of JPG. RAW gives you access to much more data in the image, and greater opportunity to correct exposure, shadows, and color saturation. It is really important for drone photos, since it can be difficult to restore the image and you often only get a chance to shoot the subject. As the cameras often started with 12 MB photos, there is not much data to download in advance, so if they get compressed to JPG, you have already lost much image information to begin with. Shoot always RAW.
Even if you don't shoot photos commercially, so you never know when you'll get a unique picture with home as you may want to print or sell. It would be a shame to have a great shoot, and so do not have access to all the information in the image and not be able to use the entire palette of options for editing in Photoshop or Lightroom.

2) AEB – Automatic Exposure Bracketing
Exposure Bracketing, IE. multiple exposures of the same photo, is a good opportunity to draw more information out, and it's great that the ability is built into virtually all DJI drones. A camera's sensor is nowhere near being able to capture detail in both the darkest and lightest areas as your eye can, and it is even more pronounced for small sensors. They will therefore have to "cut" details away in peripheral locations in order to get the rest to be properly illuminated.
Here, it is an advantage to take multiple exposures. Exposure Bracketing is defined as at least two photos of the same object with different settings recorded (closing time, exposure compensation) and it serves several purposes:
- If you don't got set exposure correctly, so you'll have the opportunity to choose the best between 3 or 5 different exposures.
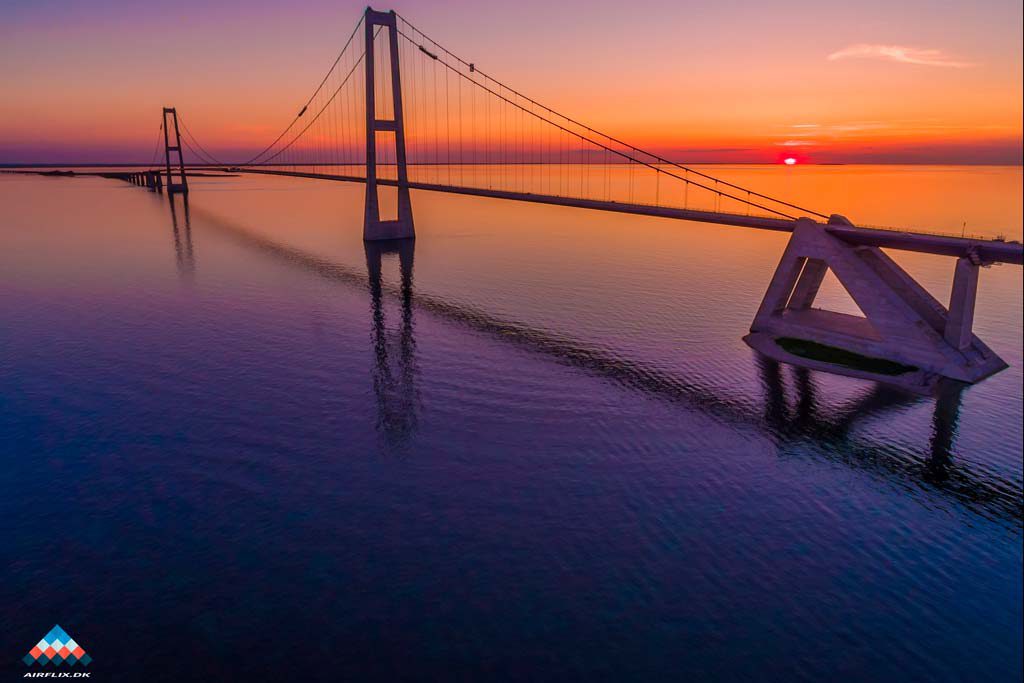
- You can use the different exposures to create a HDR (High Dynamic Range) photo. The photo don't look overdone unnaturally as HDR photos often does, but you can take advantage of the different exposures to pull detail out of the shadows and remove an overexposed sunset in the same photo, something that would not be possible with just a single photo.
3) P (Auto) and M (Manual) mode
After you get some experience with photography, and especially drone photos, choose most only to shoot in the M (Manual) mode since it allows full control over ISO, Aperture and shutter speed.
Several of the DJI's drones provides the ability to display a Histogram that tells about the picture is over-or underexposed. But if you are in doubt, you can switch to P (Auto) mode and view what the camera itself will choose, and then go back to Manual and use the settings as a starting point.
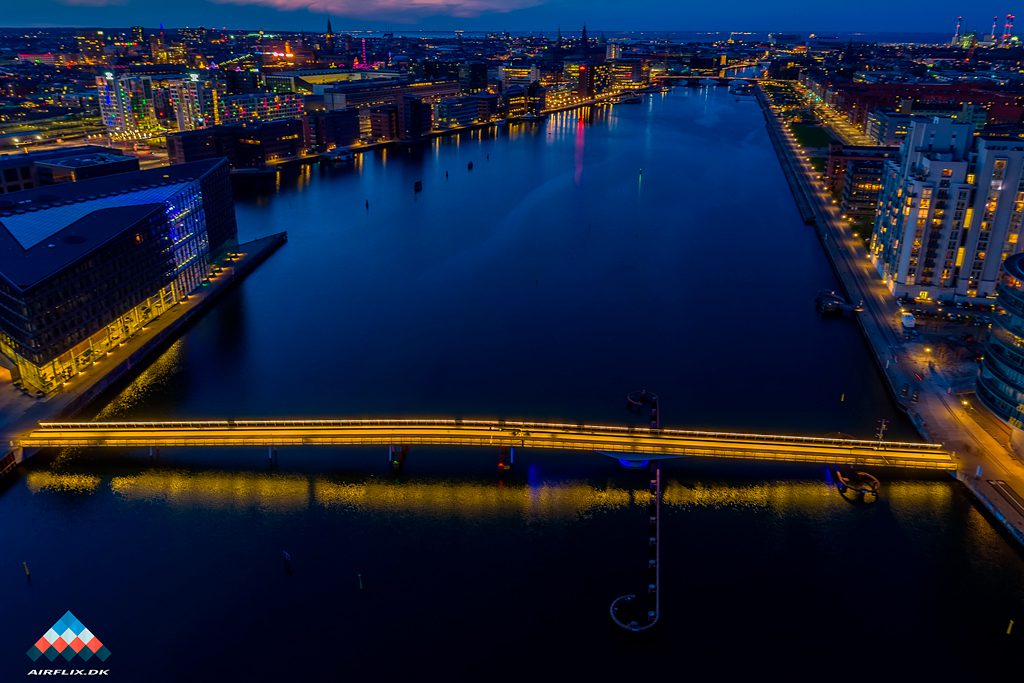
4) camera shake/Natfotografering with drone
Even the larger drones which Inspire can shake a bit in strong winds and the higher they are up, the greater the risk of high winds. Although there is quite calm at the ground, there may well be even strong gusts in the 100 metres in altitude. Surprisingly, several of the DJI's drones capture photos with up to 8 sec. closing time. It will almost certainly be too slow to avoid shaking photos, but we have taken photos of 3 sec. closing time there definitely was helpful. It's pretty impressive for a flying camera.
Pro Tip: If drone supports it, so set your gimbal in "Free Mode" when you shoot with long closing time. So it can better adjust to shocks without being dependent on dronens movements.
5) ISO – the lower, the better
As a starting point you must always seek to photograph with the lowest possible ISO, as on most drones are ISO 100. A low ISO minimizes the risk of noise in the image. In daylight, it is rarely necessary not to shoot at the lowest ISO.
One of the biggest problems with the small sensors that sit in most drones is that they are very poorly in the dark and shows noise even at small ISO numbers. When you need to record the drone photos in (tus) dark, it is therefore a question of finding the best balance between ISO, Aperture and closing time to close enough light into, but at the same time, not get too much noise in the image. If you're already a recorder with ISO 800 in the evenings, try if not a little longer closing time can give you more light without the picture will be shaken. Factors such as wind, dronens size, sensor size, light, etc. is all to determine which settings to use, so it's largely a matter of trial and see which gives the best result.
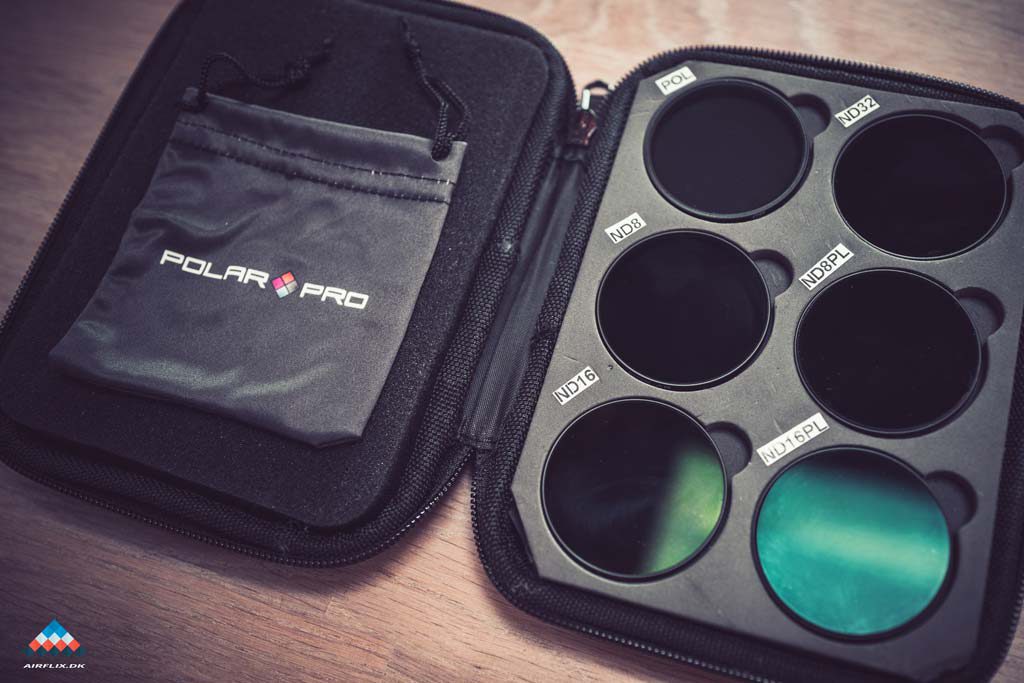
6) ND and POLE filters
We use ND filters all the time in the control of closing time when we record the video. In order to get footage that does not look for "video-like" out, the golden rule is to use what is called the 180-degree rule, which says that one should use a closing time is twice the frame rate (FPS). In other words, if you are recording at 25 fps, then you should aim to get the closure down at 1/100 sec. Most often, it is only possible to adjust the amount of light coming into the sensor, by using ND filters are available in different strengths (ND4, 8, 16, 32, 64).
There are also adjustable ND filters, but they are often very heavy and can affect your drones gimbal.
ND filters can, however, also be used for drone photos, as they can help make a bright sky darker, or if you want to record long exposure eg. waves at the beach without to illuminate the sky.
POLE filters are good at optimizing your photos as they can reduce reflections in water and increase color saturation in the sky. Some POL filters may also reduce the Flash output, so you can use a longer closing.
7) Editing of drone photos
If you share your photos with others, and especially on the Web, so it is very rare that you can enhance them with a little editing. Almost in all cases, even 1 min. editing have a tremendous positive effect on a photo. So find an editor that you like and you will be good to use it and challenge yourself to get better. We can highly recommend both Photoshop and/or Lightroom there is available as subscription at Adobe. Lightroom can simultaneously be used to catalog your photos which quickly becomes necessary.
Do you share your photos from an iPhone or iPad, eg. When you are on holiday, then we can highly recommend apps like Lightroom and Darkroom.
8) Dronens Settings
There are a number of settings and calibrations you should do to make sure your drone flying at peak performance and gives you the best chance to take good drone photos. How the different settings and calibrations are carried out can vary from drone to drone, but here are some general tips.
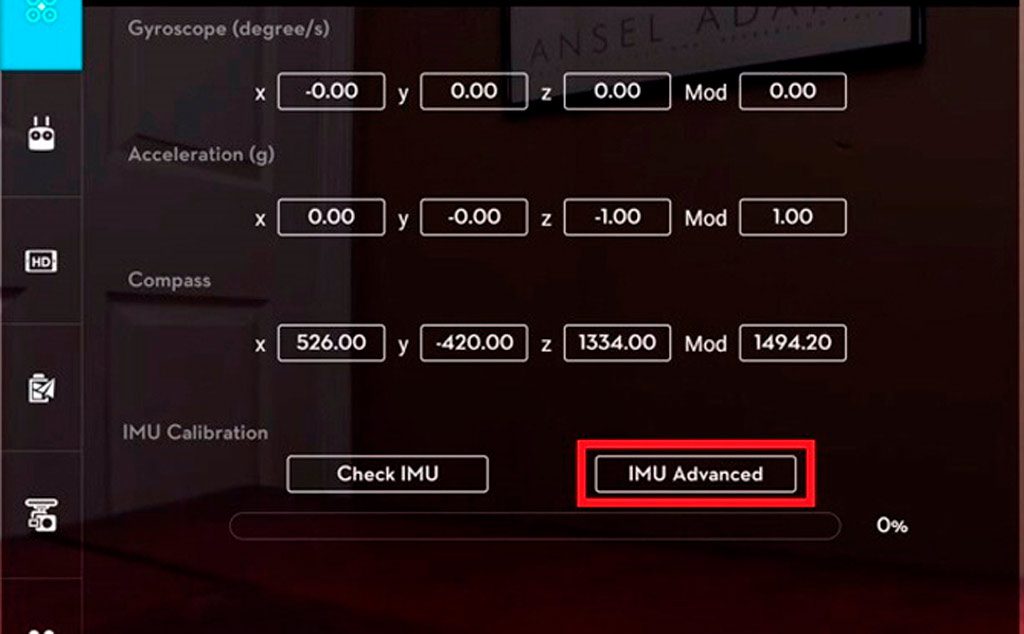
Firstly, make sure the compass is calibrated when you fly far away from the last place you flew. If you fly in Jutland and on Zealand one day to the next, so make a compass calibration before. A calibrated compass helps to keep stable drone and fly straight. Check that the kompasset's ' Mods "value is between 1400-1600 for optimum flight. DJI's GO app will warn if the compass requires calibration, but it is always a good habit to check it yourself before each flight.
Secondly, so make it a habit to keep the drone in a minute or two just hover above the ground before a flight. It will give the drone option to stabilize, get better GPS signal and should there be an error (eg. a loose propeller) so it does not fall so far.
In addition, it is a good idea to be aware of birds and other wildlife in the air. Gulls can eg. be vastly interested in drones (especially white drones). So fly with prudence and respect the wildlife around you.
We hope our tips for better drone photography can help you to take better drone photos. If you need more drone tips then look further on our blog and check in from time to time. Do you have any other good tips for drone photos, please let us hear from you in the comments below – and you will support us anymore, so that part like the article on the social media.